

Table of Contents
- What Is OmniRoute?
- Why Developers Are Using OmniRoute
- OmniRoute Requirements
- How to Install OmniRoute
- Install Node.js
- Install OmniRoute Using NPM
- Install OmniRoute Using Docker
- Install OmniRoute From Source Code
- Start OmniRoute
- Open the Dashboard
- Connect AI Providers
- Create an API Key
- Configure Cursor
- Configure Claude Code
- Configure Codex CLI
- Common Errors and Fixes
- FAQ
- Final Thoughts
Getting Started with OmniRoute
The first time you look at OmniRoute’s documentation, the amount of options can feel like a library of AI services.
Most beginners are looking for a way to install the gateway and connect a few different providers and begin using Cursor, Claude Code or Codex CLI without spending hours reading technical documentation.
This beginner guide covers how to install OmniRoute on your computer and make sure you can see the dashboard.
By the end of this tutorial you’ll have OmniRoute installed, connected to various AI providers and ready to use with your applications.

AI tools are an essential part of the development lifecycle, and the problem is most developers are using more than one provider.
For example:
- OpenAI
- Anthropic Claude
- Gemini
- DeepSeek
- Kimi
- OpenRouter
- Free community providers
Managing these all separately and keeping track of their different API keys and configurations can become a pain.
OmniRoute fixes this by acting as a single gateway for all of your providers. Instead of configuring each one inside every application you’re using, you can connect them once and use OmniRoute to route your requests.
Benefits include:
- Single API endpoint
- Multiple AI providers
- Automatic failover
- Centralized management
- Easy model switching
- Usage monitoring
- Better workflow organization
Minimum Requirements
- Windows 10 or Windows 11
- Ubuntu 20.04 or newer
- macOS
- Internet connection
- 4GB RAM
- Node.js installed
Recommended Requirements
- 8GB RAM or higher
- Latest Node.js version
- SSD storage
- Stable broadband connection
Step 1: Install Node.js
Node.js is required for OmniRoute to work.
If you don’t have Node.js installed then OmniRoute won’t install or run.
Visit the Node.js website and download the latest version.
After installation, open up Command Prompt or Terminal and run the following commands:
node -vThen:
npm -vIf you see a version number that means Node.js was installed correctly.
Example:
v24.8.0
10.9.0
You can now proceed to the installation.
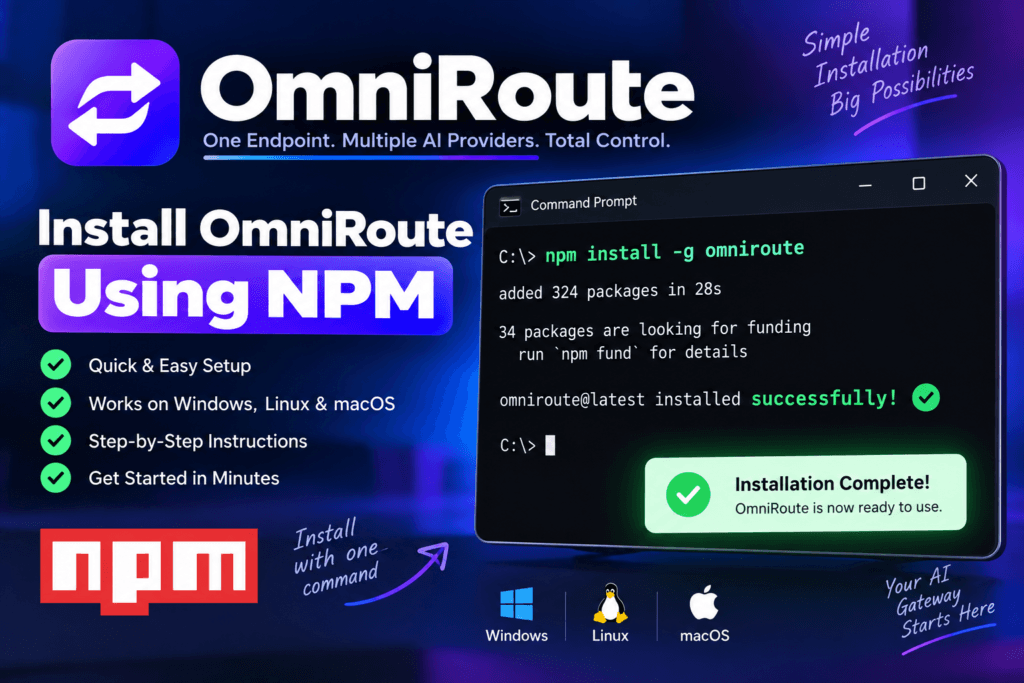
Step 2: Install OmniRoute Using NPM
NPM is the easiest way to install OmniRoute.
Open up Command Prompt or Terminal and run the following command:
npm install -g omnirouteThe installation will complete in a matter of minutes.
After the installation completes, run the following command to verify everything is working:
omniroute --helpIf you see help text, that means everything is working.
Step 3: Start OmniRoute
After installation is complete, we need to launch the application:
How to Install OmniRoute on Windows
omnirouteThe application will run locally on your computer.
By default, OmniRoute will open the following dashboard:
Dashboard:
http://localhost:20128

API Endpoint:
http://localhost:20128/v1
Keep this terminal window open while OmniRoute is running.
Step 4: Open the Dashboard
Open your browser and navigate to:
http://localhost:20128You should see the OmniRoute dashboard.
This dashboard allows you to manage:
- AI Providers
- API Keys
- Endpoints
- Logs
- Models
- Routing Rules
- Analytics
At this point OmniRoute is installed, but we need to connect it to some AI providers.
Step 5: Connect AI Providers
Click:
Providers → Add Provider
OmniRoute supports several different providers.
Many users like to start with:
Kiro AI
This gives access to Claude-powered models and is popular with developers who are looking for free options.
OpenCode Free
This is simple to set up and is great for absolute beginners.
Pollinations
This offers free access to AI models without requiring a traditional API key.
Select the provider you want to use and follow the instructions in the dashboard.
As long as at least one provider is connected, OmniRoute will be fully functional.
Step 6: Create Your API Key
Now we need to create an API key that other applications will use to communicate with OmniRoute.
Navigate to:
Endpoints → Create API KeyGenerate a new key and copy it to your clipboard.
Store it somewhere safe because you’ll need it later when connecting other applications.
Example:
sk-or-xxxxxxxxxxxxxxxxxxxxx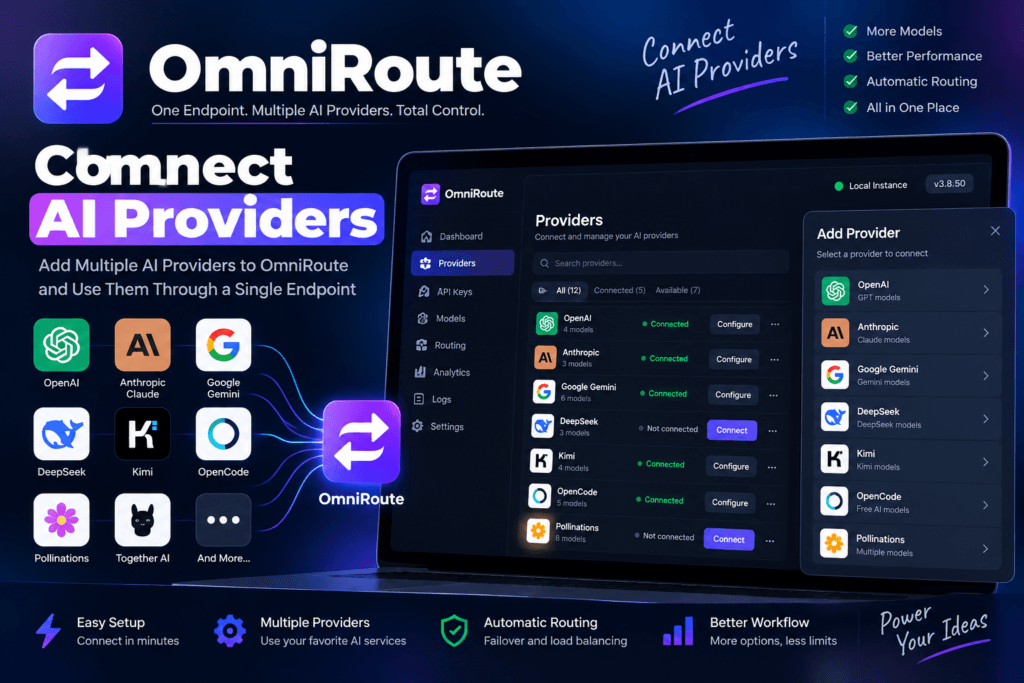
Step 7: Test the Installation
Open up Terminal and run the following command:
curl http://localhost:20128/v1/models -H "Authorization: Bearer YOUR_API_KEY"Replace:
YOUR_API_KEYwith your actual API key.
If everything is working correctly, you should have a response that includes a list of all available models.
This means your installation was successful.
Step 8: Configure Cursor
Open up Cursor settings.
Select:
Provider:
OpenAI Compatible
Enter:
Base URL:
http://localhost:20128/v1

API Key:
YOUR_OMNIROUTE_API_KEY

Model:
auto
Save the changes.
Cursor will now go through OmniRoute to route all of its requests.
Step 9: Configure Claude Code
For Claude Code, we use the OmniRoute endpoint:
http://localhost:20128/v1Set your OmniRoute API key and run Claude Code as normal.
All requests will go through OmniRoute instead of directly to a provider.
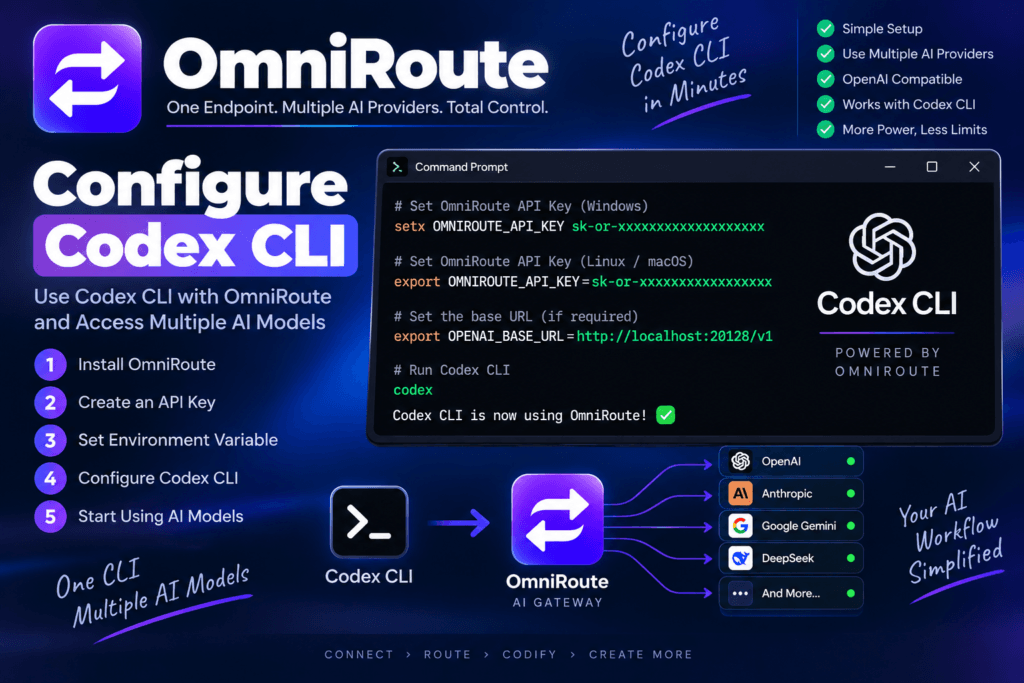
Step 10: Configure Codex CLI
Windows:
setx OMNIROUTE_API_KEY YOUR_KEYLinux:
export OMNIROUTE_API_KEY=YOUR_KEYUse:
http://localhost:20128/v1as your endpoint.
Codex CLI will now go through OmniRoute.
Understanding Auto Routing
One of OmniRoute’s most useful features is Auto Routing.
Instead of manually selecting a provider each time, simply use:
autoOmniRoute will handle the rest and select the best available provider based on:
- Availability
- Response speed
- Provider health
- Configuration rules
- Failover settings
This reduces downtime and improves reliability.
OmniRoute Command Not Found
Run:
npm install -g omnirouteagain and then restart your terminal.
Dashboard Not Opening
Make sure OmniRoute is running.
Visit:
http://localhost:20128directly in your browser.
No Models Available
This usually happens when:
- No provider is connected
- Your credentials are invalid
- You’re having issues with your internet connection
Reconnect your providers and try again.
Port Already In Use
Start OmniRoute on a different port:
omniroute --port 3000Then use:
http://localhost:3000instead.
Security Best Practices
To keep OmniRoute secure, make sure you never:
- Share your API keys publicly
- Upload your keys to GitHub
- Use the same keys for different projects
- Leave unused providers connected
- Skip reviewing your logs regularly
- Forget to keep OmniRoute updated
Performance Tips
To get the most performance out of OmniRoute:
- Connect multiple providers
- Enable fallback routing
- Keep Node.js updated
- Keep track of provider status
- Use the Auto model whenever possible
- Keep OmniRoute updated
Frequently Asked Questions
Is OmniRoute free?
Yes. OmniRoute is open-source software and can be used for free.
Do I need an OpenAI API key?
No. You can use various free providers without requiring an OpenAI API key.
Can I use OmniRoute with Cursor?
Yes. Cursor works perfectly with this tool using the OpenAI-compatible endpoint.
Can I use OmniRoute with Claude Code?
Yes. Claude Code can be configured to use OmniRoute.
Does OmniRoute support Docker?
Yes. Docker installation is supported.
Can I install OmniRoute on Linux?
Yes. Linux, Windows, and macOS are all supported.
What is the default OmniRoute port?
The default port is:
20128Can I change the port?
Yes. Example:
omniroute --port 3000What does Auto Routing do?
Auto Routing automatically selects the best provider based on your configuration.
Is OmniRoute a good option for beginners?
Yes. Once installed, the dashboard is simple to use and manage.
Final Thoughts
OmniRoute makes managing multiple providers much simpler. Instead of connecting and managing different API keys and endpoints for each provider, we can connect them all and use a single dashboard and endpoint across all our applications.
Whether you’re using Cursor, Claude Code, Codex CLI, Cline, RooCode, Gemini CLI or any other OpenAI-compatible application, this tool provides a great way to centralize your access to AI, keep applications reliable and simplify your workflow.
Frequently asked questions
What are the minimum system requirements for installing OmniRoute?
How do I install OmniRoute using NPM?
How can I confirm that OmniRoute is running correctly after starting it?
What steps should I take if the "OmniRoute command not found" error appears?
At a glance
| Provider | Model Focus | Cost | API Key Required |
|---|---|---|---|
| Kiro AI | Claude‑powered models | Free | No |
| OpenCode | General purpose | Free | No |
| Pollinations | General purpose | Free | No |